Free Digital Signage with WPScreens and Depicter
Quick Setup in 3 Short Steps
Create your own free and easy to use Digital Signage System for WordPress using WP Screens in combination with Depicter Slider.
Step 1.
Install plugins
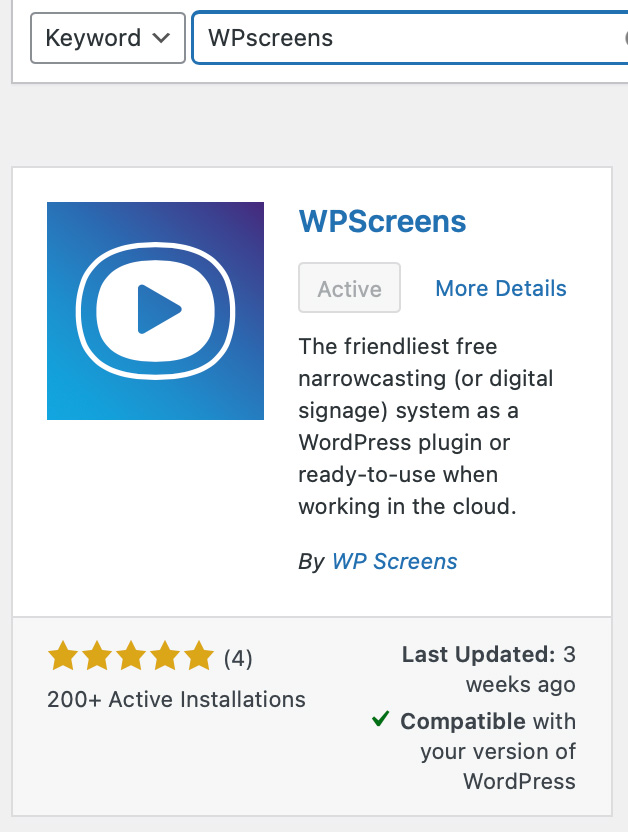
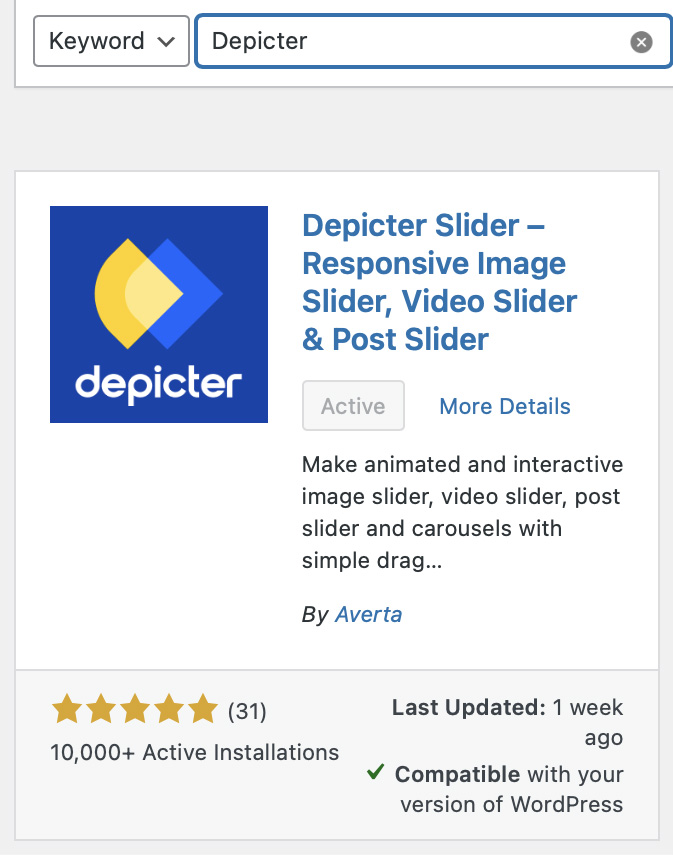
Install the free editions of WP Screens and Depicter at ‘plugins’ of your WordPress website.
Next step:
Go to Settings (of WordPress backend); Permalinks; click on ‘save changes’ button.
Now both plugins should be working fine
Step 2.
Import the slider and edit, duplicate or remove as much content as you want
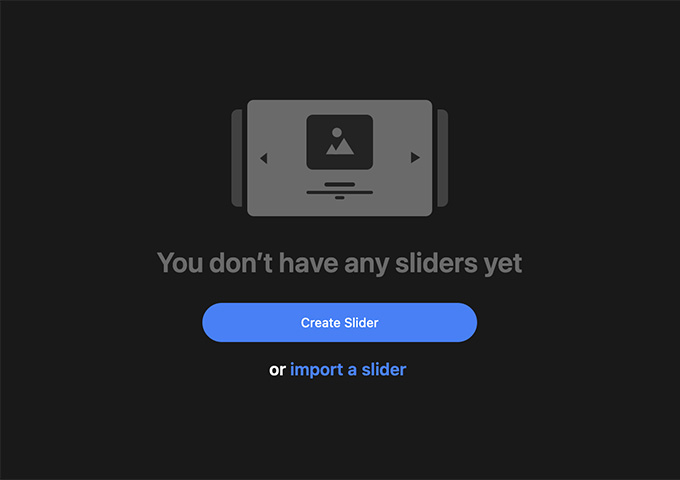
Download .zip file Free-Depicter-Slider.zip and import it in Depicter.
The slider will not have the same name as it does in the screenshots, however the slider will always end up at the bottom.
Step 3.
Publish your Slider with WPScreens
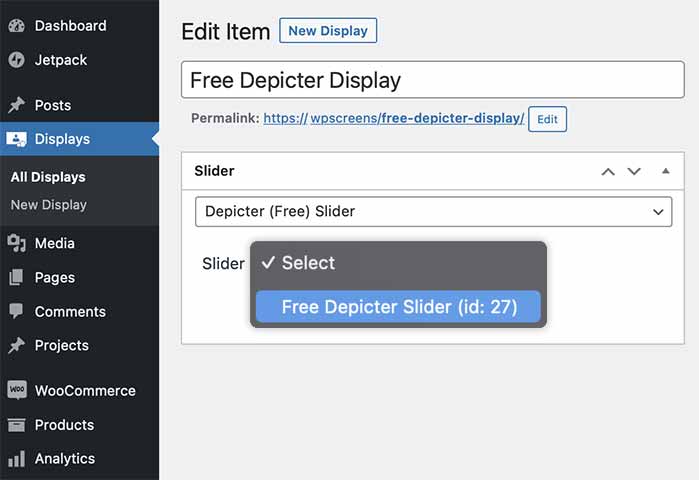
Go to “Displays” in the WordPress Menu (see screenshot) and click on “New Display” and select your Depicter slider from the slider dropdown.
Now you are ready to publish! 🚀
Use the permalink in the browser of your remote display to publish your Digital Signage system anywhere you want!
(The permalink is publised under “Title” at your WP Screens display edit screen)
