Cars Dynamic Content- Digital Signage
Just Import the Ready to Use Template
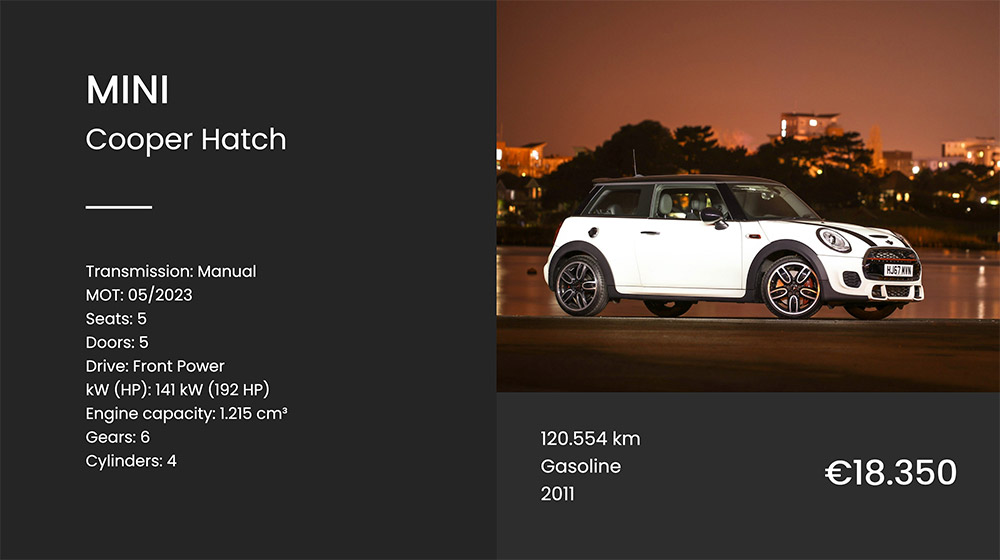
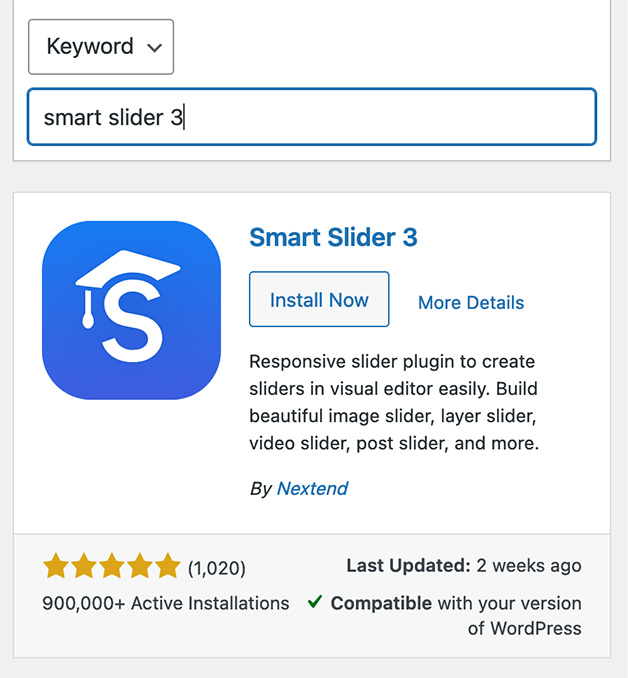
Create your own easy to use Digital Signage System for showing sales offers. Use WordPress and WP Screens in combination with Smart Slider 3.
Step 2.
Import the slider
Download the template-file WP-Selling-Cars.ss3
At smart slider: Click the green button ‘+ New Project’ to start a new project.

At smart slider: Click the green button ‘+ New Project’ to start a new project.
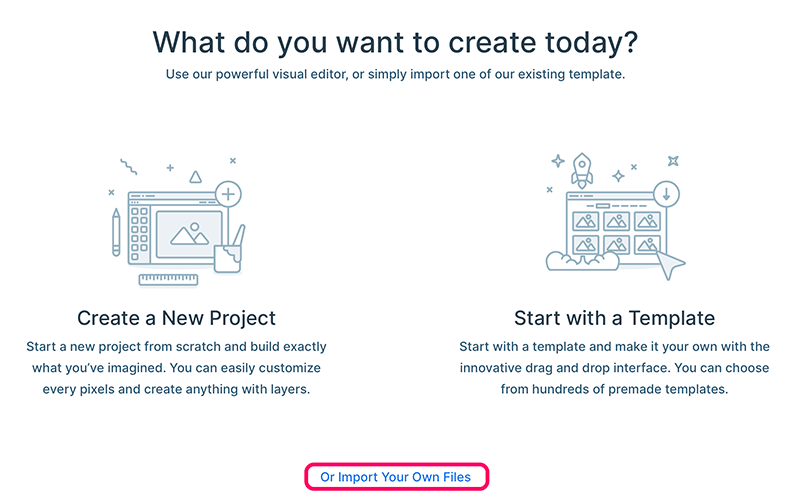
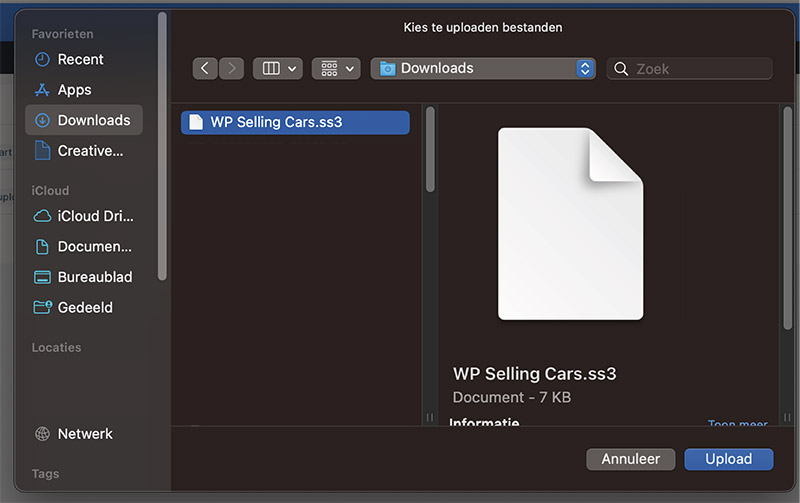
Import the template file in Smart Slider 3, see image.
Now you have imported the templae file, the layout is ready to use.
You can mange the content at ‘Posts’ of WordPress.
To edit the dynamic settings, read the tutorial:
Manage Dynamic Content
Step 3.
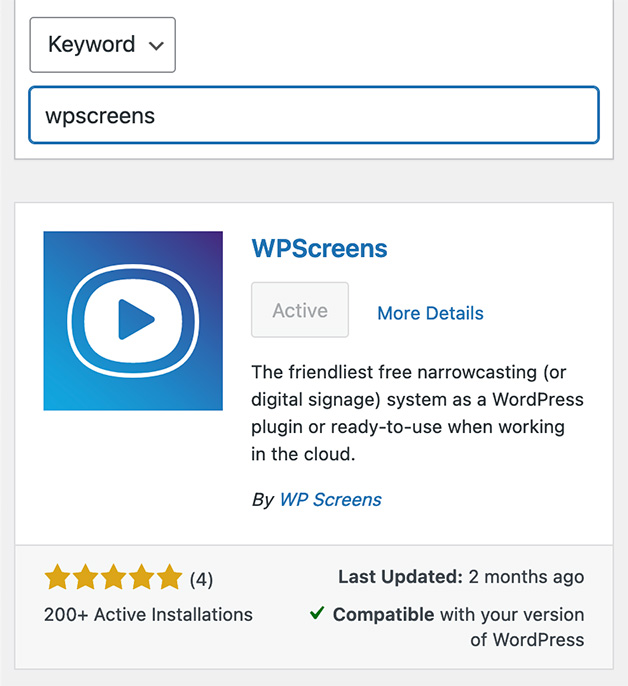
Publish your Slider with WPScreens
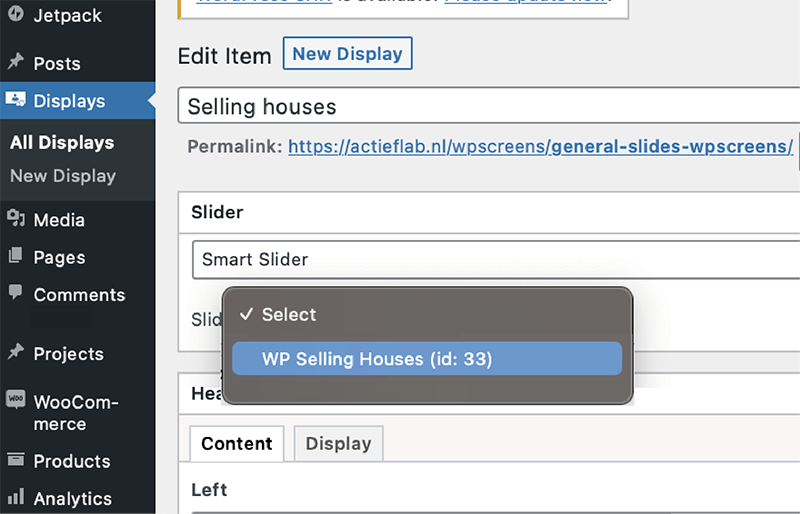
Go to “Displays” in the WordPress Menu (see screenshot) and click on “New Display” and select your Smart Slider 3 slider from the slider dropdown.
Now you are ready to publish! 🚀
Use the permalink in the browser of your remote display to publish your Digital Signage system anywhere you want!
(The permalink is publised under “Title” at your WP Screens display edit screen)
